 Vintage Workshop
Services for Brough Superior motorcycles and their contemporaries
|
Vintage Workshop Services for Brough Superior motorcycles and their contemporaries |
Making a 40 tooth chain wheel from odds and sods - admittedly an exercise in bodging!
| My replica Enfield cush hubs all
have the 45t chain wheel, and unfortunately you cannot make a smaller one
from these castings. So I had to find another solution.
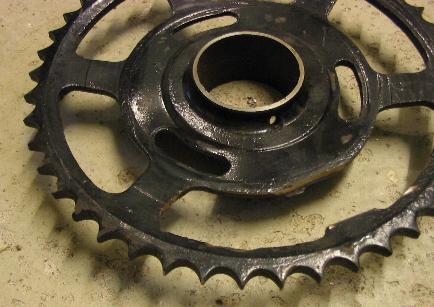
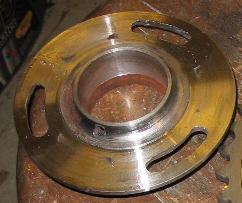
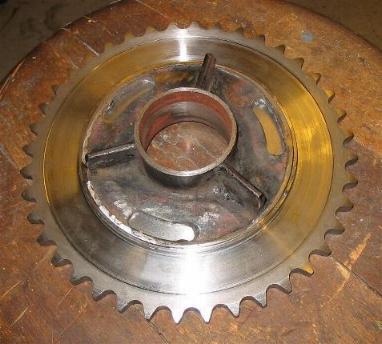
I have a tendency to keep junk that is "too good to throw away". At least this time this proved helpful: I still had the old, quite second hand chain wheel pictured here. So I decided to re-tooth this chain wheel. Admittedly a bodge, but what could I do. Re-toothing is a bit of an understatement, not only for the missing spoke, but also because the area around the bolt holes was terribly worn down, as was the bore of course. I restored the worn faces around the three bolt slots by deposit welding, cut off the remaining 5 spokes and machined the surfaces to be smooth, leaving a recess that would centre the chain blade..
|
|
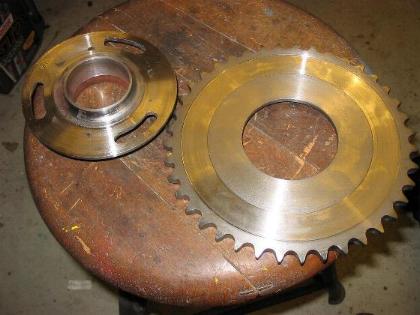
| Next I obtained a 40t chain wheel blank and machined this to go onto the above centre. I noticed that I could not have clamped a much bigger one to the faceplate of my little Robling lathe... |
|
| These are the two bits to be joined. The chain blade just went nicely
onto the recess of the inner bit.
Now, how to join these without spoiling the whole lot? I think arc welding is not an option with the C45 steel blade and the inner bit a casting of unknown properties. I thought about riveting, but this would mean countersunk rivet heads on both sides, thus in fact rivets which have almost no shaft at all. A quick calculation told me 6 rivets of 1/4" diameter should be strong enough. I think I should have gone for this option but I decided to silver solder them instead. |
|
| And this is how I hoped the job would look after soldering.
Unfortunately the result was slightly less attractive, in fact so ugly that I forgot to take a picture of it! Lesson learnt: this is not a job to be done with a welding torch. In a stove, nicely jigged on a plate, things might have ended up better.... |
|
| Well, it was not THAT bad, but the whole lot had distorted quite a bit. Say 0.6 mm in flatness and 0.3 mm out of centre. I spent some time straightening the lot until the chain blade was
reasonably flat again. Then I annealed it for some time in the stove at some
300 centigrade, hoping to relieve some of the residual stresses,
re-checking straightness afterwards. I could then clean up the faces of the chain blade. Then I had second thoughts: Before machining the centre bore, it might be as well to machine the slots for the sprocket bolts and the windows in the chain blade as this might release some more tensions in the material and thus change the best centre position.
|
|
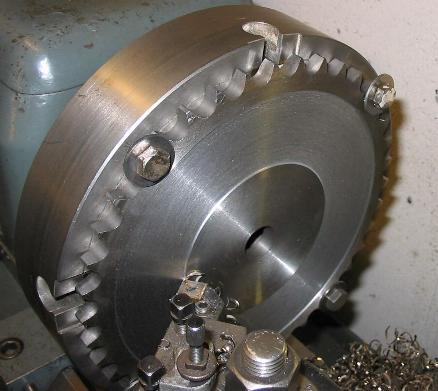
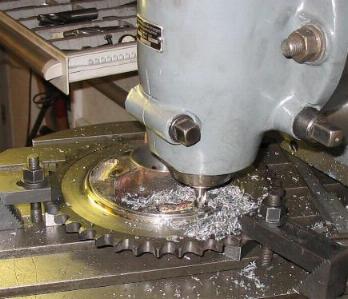
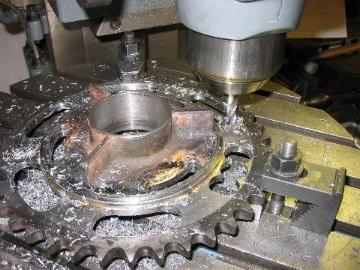
| Which you see me doing in the pictures above and to the right.
The cut-outs were a bit tedious to make, but I had expected that. And a row of big round holes looks ever so skimpy... |
|
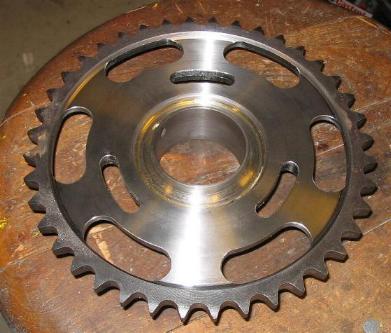
| Only now I put it back on the faceplate. Aligned it again and finished
the bore in the centre. Now, it does not look half as bad as before. It still has +/- 0.1 mm radial runout, which is giving me an itch, but then I wonder how true a re-toothed sprocket can run at all. Any experiences out there? |
|
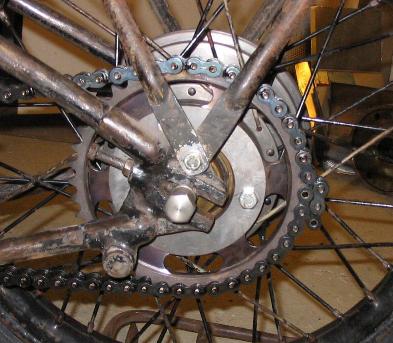
| Ok. I still had to make a bronze bush to go into the bore, press that
in, and finish it to suit the hub. Eventually, things went back together
smoothly, looking almost the same as before.
Just a few teeth less....
|
|
If you have any comments please send an e-mail to
![]()
(sorry, this is not a clickable 'mailto:' hyperlink. If you want
to write me, please type my address in your mailer. )